Friday, July 25, 2014

3xR Week 30: Super Sad Face

This week I was interested in using one of the stones that have been sitting around for ages, so I dug through my stash and found a nice jasper cabochon that I had already fit with a bezel as well as some copper.


You might recognize that textured copper piece at the top from 3xR 21, which might be my favorite piece from the project thus far, so I decided to continue with the theme. 

3xR 21
Since I had the a whole piece of bezel and plenty of copper back plate this time I cut off what I didn't want.

A little soldering, a few rivets, a handmade chain, some patina and I was nearly finished. All that was left was to set the stone. Then I heard a horrible sound. 


I broke the stone. Super sad face. What's worse was I didn't have a stone to replace it with. So I had to get creative. 


I found another piece of scrap from a hydraulic press test that had a semi oval shape. 


Then I made some balls out of some silver filings and did a little trimming, chasing, and soldering. 


 Not so bad for a piece without a stone.


Thanks for reading! 

Sunday, July 20, 2014

3xR # 29

I was hoping to be working with the ocean debris again this week, but instead I continued with another remnant piece. A band ring.


A usual I started with a pile of scrap


Played with layout until I was happy


Cleaned up the smaller bits with a little filing and sanding


Partially melted some hard solder to the backs of the little pieces


Sweat soldered the little bits down


Cleaned up the edges of the strip and formed it into a horseshoe using a ring mandrel and rawhide mallet


Brought the ends around to meet and soldered the joint


Hammered it back to round and presto


Remnant band ring.

Thanks for reading!

Thursday, July 10, 2014

Riveting, Forging, Fusing Oh My

I love riveting. It's no secret that it's one of my favorite techniques. I use them a lot. I also enjoy forging, but it's not so easy on the wrists, so I have to keep it to a minimum. That's why I only make one of these statement necklaces every now and then. It's a shame, because they are one of my favorite things to make. What I need is a hammerer... the lucky person can also do all photo touch ups. Now accepting volunteers. No one? Darn.

Riveted Copper Statement Necklace


To start this necklace I cut and formed several lengths of copper wire by wrapping them around wooden dowels of various sizes.

Necklace Layout

Next, I forged out the ends and any areas where a rivet would need room and added a similar hammered texture everywhere else.

Forged

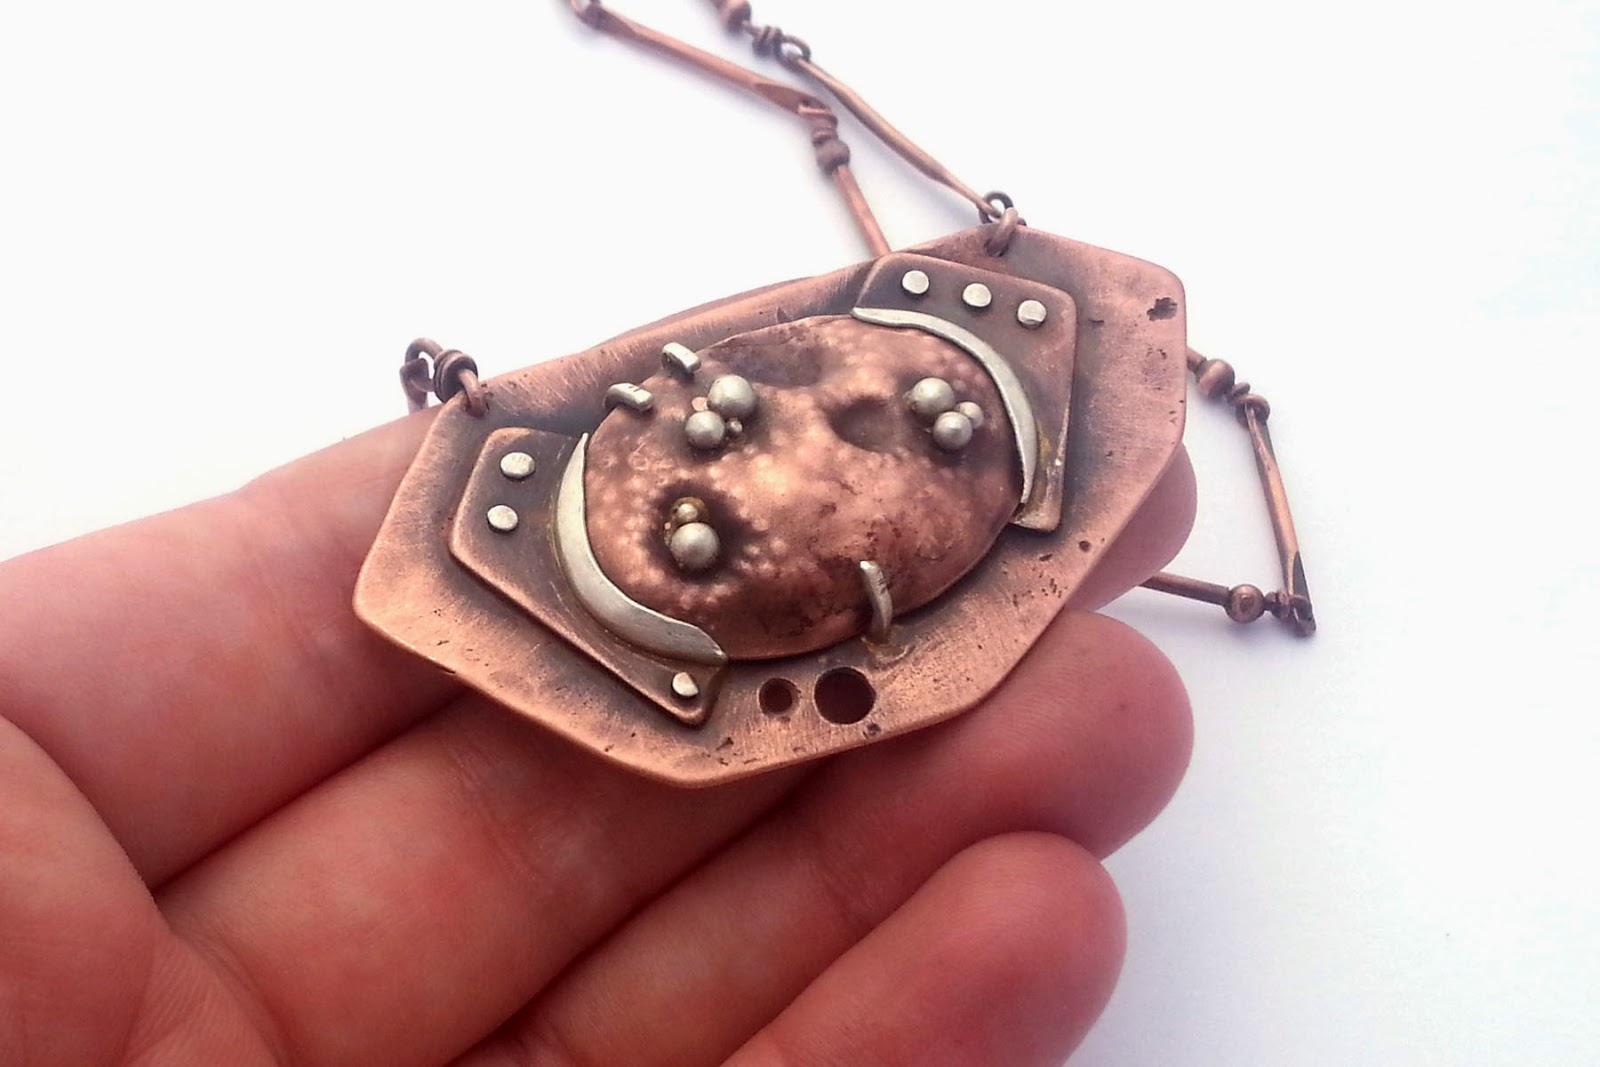
Then it was time to drill holes at the ends of each piece, cut rivets, and ream out the edges of the holes with a larger drill bit to allow the rivets room to spread and grab the metal. As I began to assemble the piece I continued to drill as I went to ensure that everything would line up.

Riveting

I decided to assemble this piece in three segments to make sure it was as symmetrical as possible, but also because I needed it to fit in my small ultrasonic cleaner after it received a patina. I also took periodic measurements to make sure it was all coming together as planned.


For the chain I decided to go with a modification of the tear link chain from the Silver Works Studio website. Instead of creating the hammered and folded links I stopped at the fusing point.


The result was a bold statement piece. I'd say it looks great with a little black dress or jeans and a tank, but in my opinion, it's really all about the neck-piece. The clothes are the accessory.


I posted the making of this piece in real time on Instagram. It was fun. I may do it again. So follow me over there if you like. Username: metalmusing

Thanks for reading!

Tuesday, July 1, 2014

3xR 22-28: Back on Track

This week I created several pieces in what is emerging as my favorite style from this project. Simple and elegant, unusual but somehow familiar, and geometrically on trend as well. Crazy.


I started with a lovely pile of scrap primarily left over from eyelet lace and orbital pieces. 


Each top piece had to be cut, filed, and sanded before I could pair it with a piece for the bottom. I was having so much fun I pulled out this second pile of scrap and did the same.


Then I sweat soldered them together, and filed and sanded some more. 


For a moment I toyed around with the idea of creating a bracelet... maybe next time. This time I decided to create some larger dangles in addition to the usual posts.

3xR #22


#23


#24


#25


#26


#27


#28


It feels so good to be back on track! Look for a new marine debris piece next week and head over to the 3xR 2014 Flickr group for a look at what the other participants are creating.

Thanks for reading!